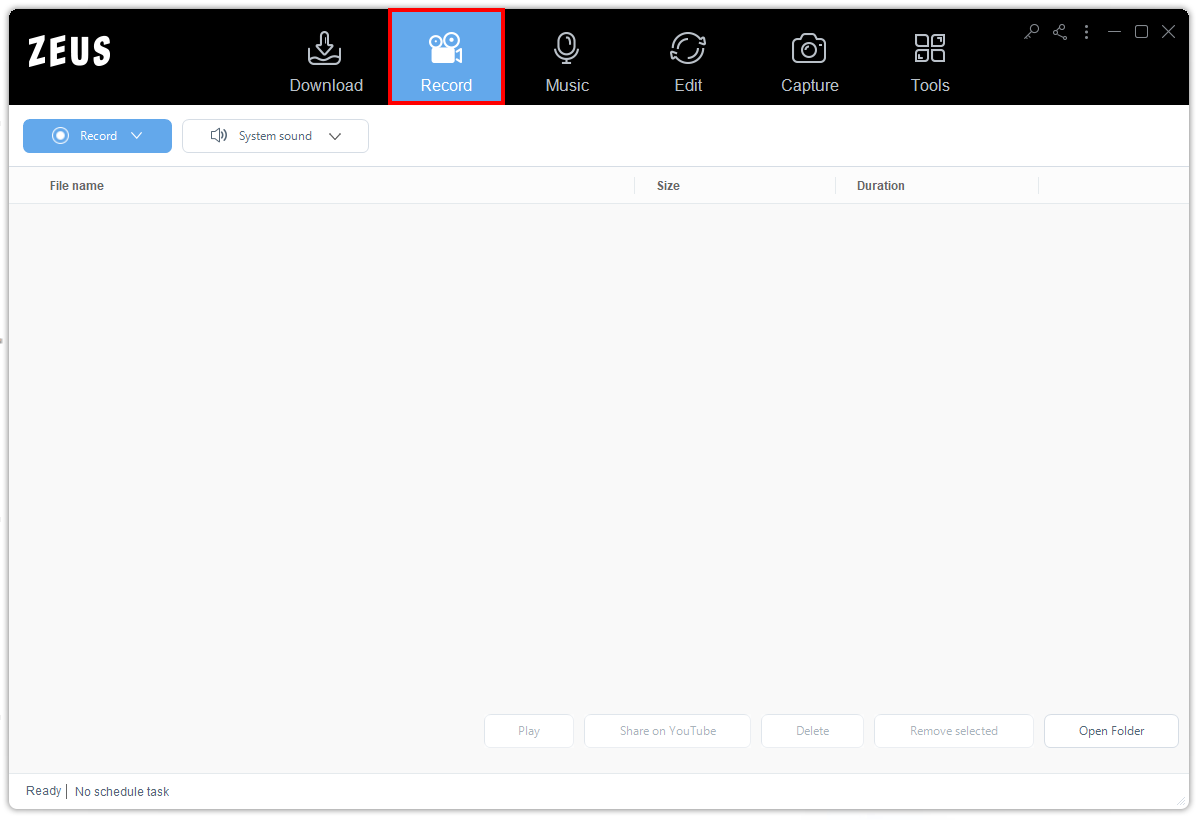
Click and open the “Record” function screen to see all recording features available.
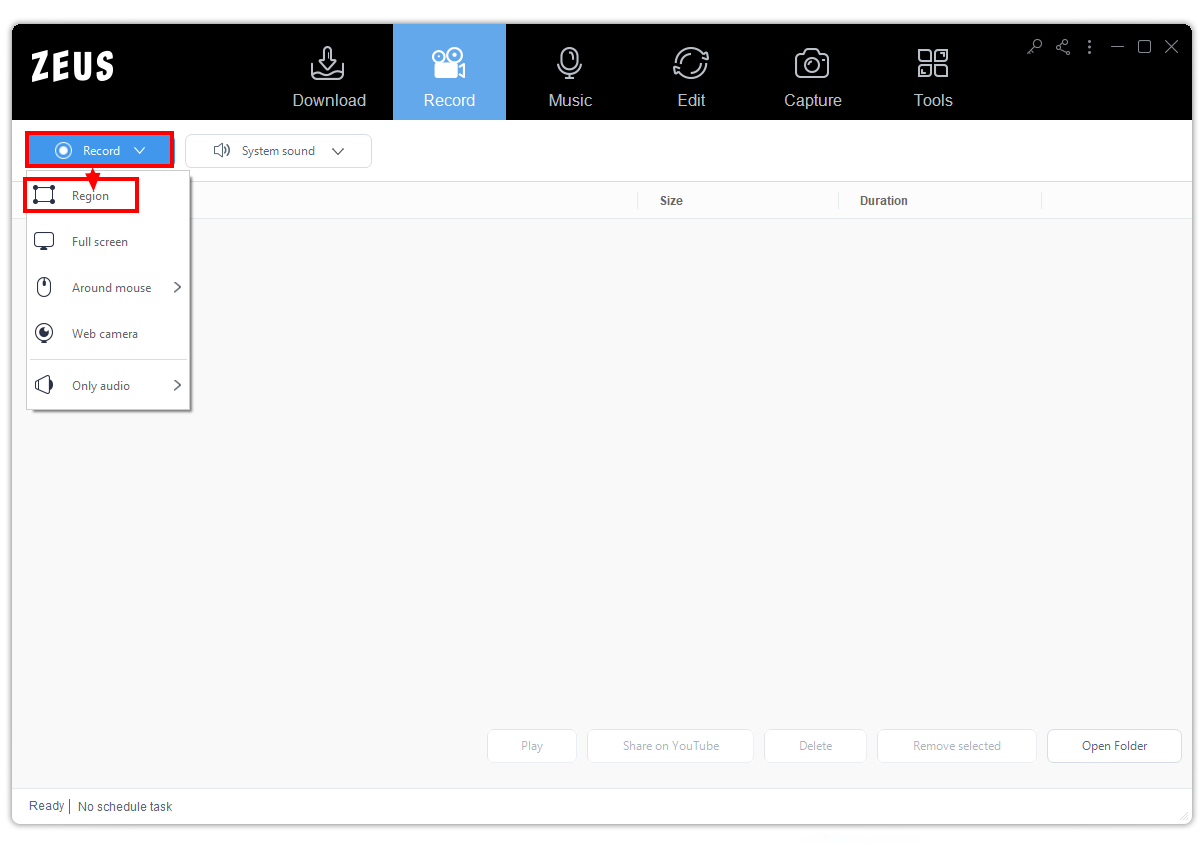
Screen Recording Designated Areas
The screen recording function is built with a list of designated area options to choose from such as:
(1) Region
Records a specific area on your PC screen to be recorded.
(2) Full Screen
It records the whole screen of your computer.
(3) Around Mouse
The recording range is centered at the position of the mouse. Likewise, the recording range will follow the movement of the mouse. You can choose the range of the recording screen from the listed available sizes. A small playback area is used for magnifying large screens.
(4) Web camera
Select this option to record images from an external or built-in web camera.
(5) Only Audio
The recorded file will be Audio-Only.

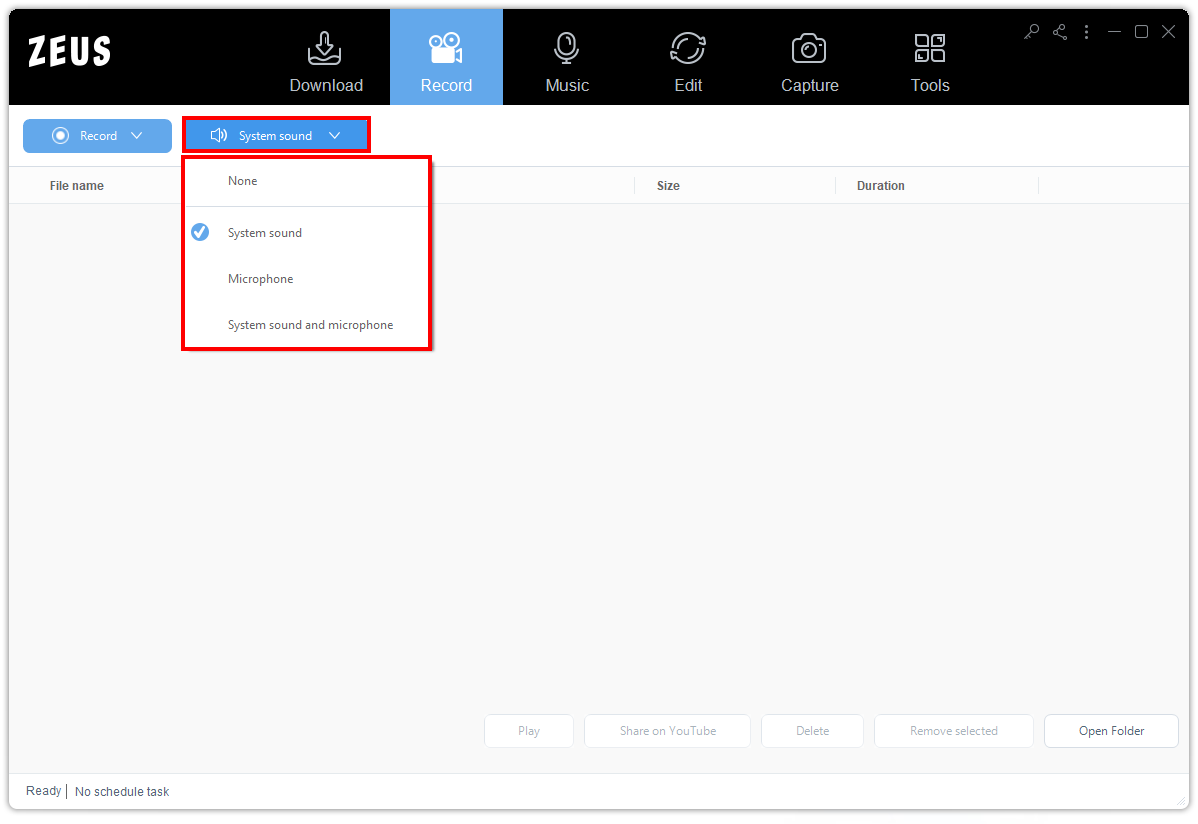
Screen Recording Sound Source
- None (video only, no audio recorded)
- System Sound
- Microphone
- Both System Sound and Microphone
Basic Recording Procedure
1. Choose Video for Recording
Choose a video to be recorded. In this example, we will record a video file played by ZEUS Player.

2. Set Recording Area
Click the “Record” button under the “Record” menu. A list of options will dropdown. Choose the “Region” as the recording designated area.
Note: ZEUS functions will be minimized during the recording procedure. You can choose to keep the ZEUS screen visible in the settings.
3. Recording Area Selection
A cross cursor will be presented for area selection. To specify pixel units, use the loupe as a guide.
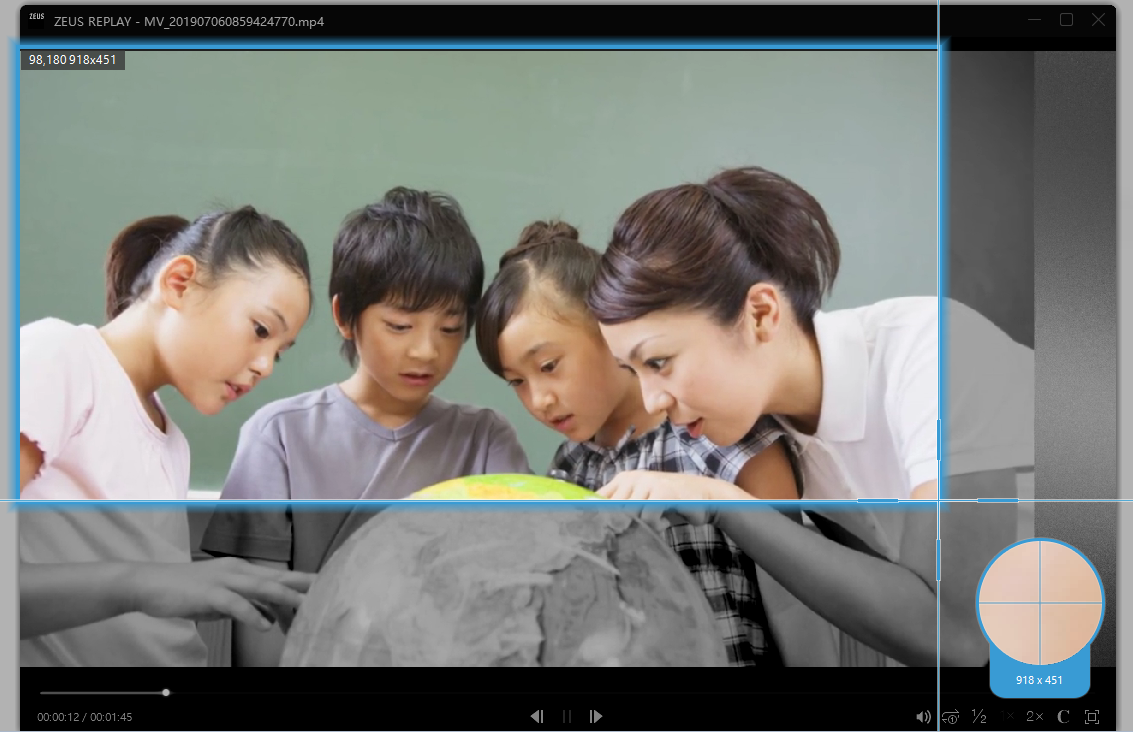
4. Window Selection
When the reticle cursor is inside the area of the media player, the whole video player area will be selected. Click to fix the recording area. The recording area will vary depending on where the cursor is placed, click in the desired frame or area to choose a specific area.

Fixing the recording area will open the confirmation screen. The horizontal and vertical areas can be adjusted according to preference. Click the “OK” button once done.

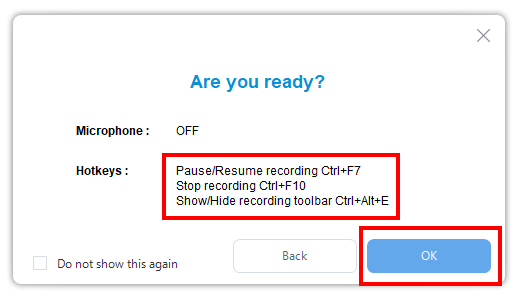
5. Start Recording
Once everything is fixed, a new window for recording will be displayed. Click the “OK” button to start recording.
Note: You can choose to close the screen next time by checking the “Do not show this again” box.
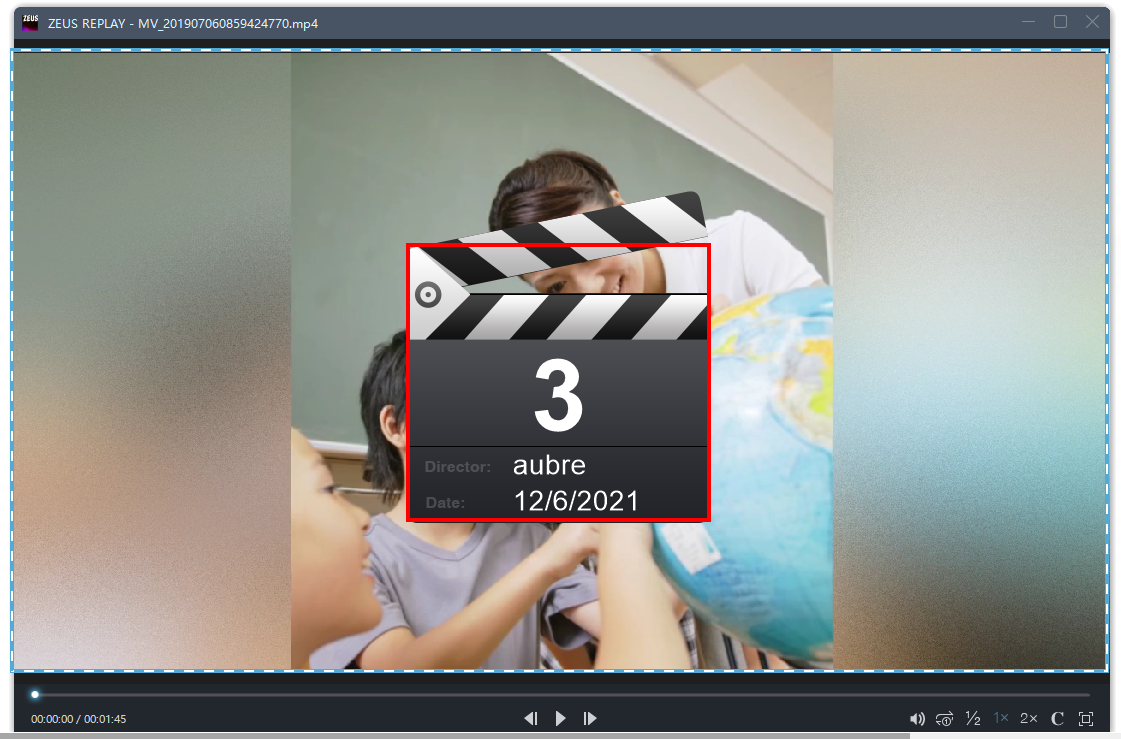
A countdown will be displayed which indicates that the recording will begin when reaches zero.
Note: You can hide the countdown under the Settings.
During the recording, a toolbar will appear for more recording options such as:
A. Pause/Resume Recording
B. End Recording
C. Volume Settings
D. Webcam Operation
E. Edit Comment

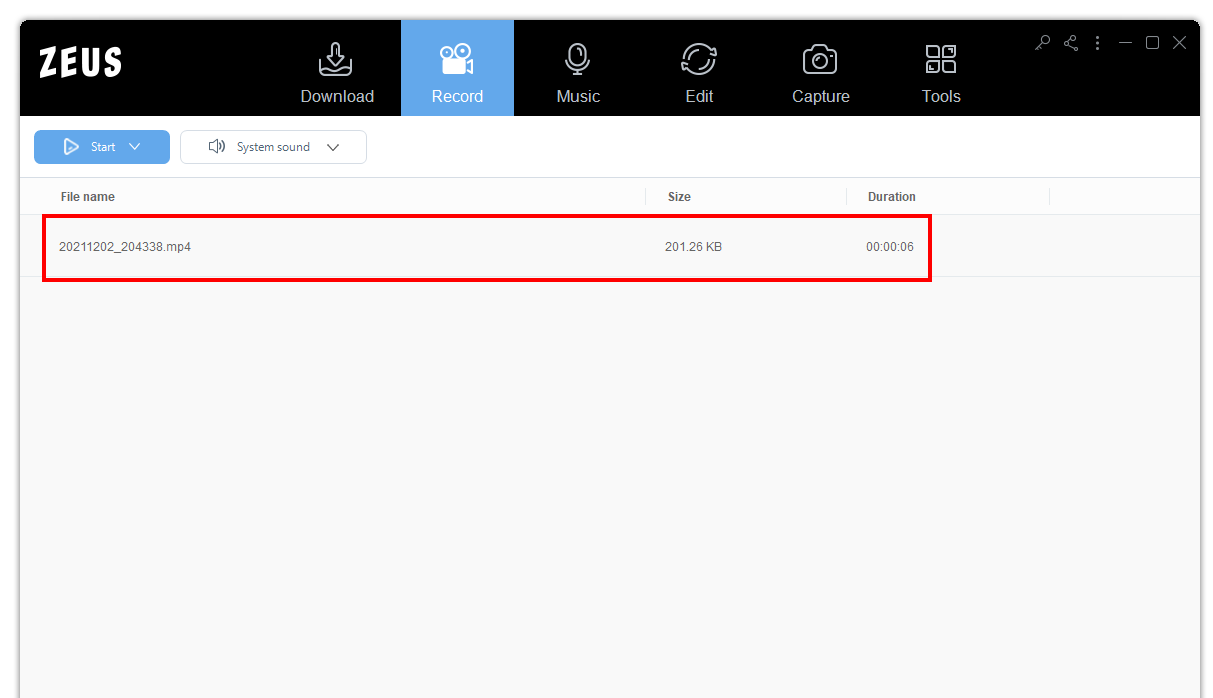
6. Finished Recording
When the recording is finished, the recorded file will be displayed under your recorded list.
Manage Recorded Files
Select further actions
After recording, you can manage your recorded file by right-clicking it and selecting further actions from the dropdown list.

The options available to manage the recorded files are the following:
1. Play
You can play and check the recorded video using ZEUS Player.
2. Convert
Will automatically redirect you to the built-in editor where you can convert the recorded files to various formats.
3. Share to Youtube
Upload the file to Youtube using the sharing tool.
4. Remove Selected
Delete the recording file from the recording list. Click check the ”Delete From Disk” to remove it from your local files.

5. Clear Task List
Delete all files from the recording list.
6. Rename
To change the name of the recorded file.
7. Open Folder
To open the destination folder of your file.
8. Scheduled Task
From the bottom left of the software, click the “No Schedule Task” button to open the scheduling management screen.

On this screen, you can check, create, edit, and delete recording scheduled tasks.

Leave A Comment