This page will show you how to create slideshow videos using the edit function of the software.
*The functions on this page can only be used with ZEUS EDIT.
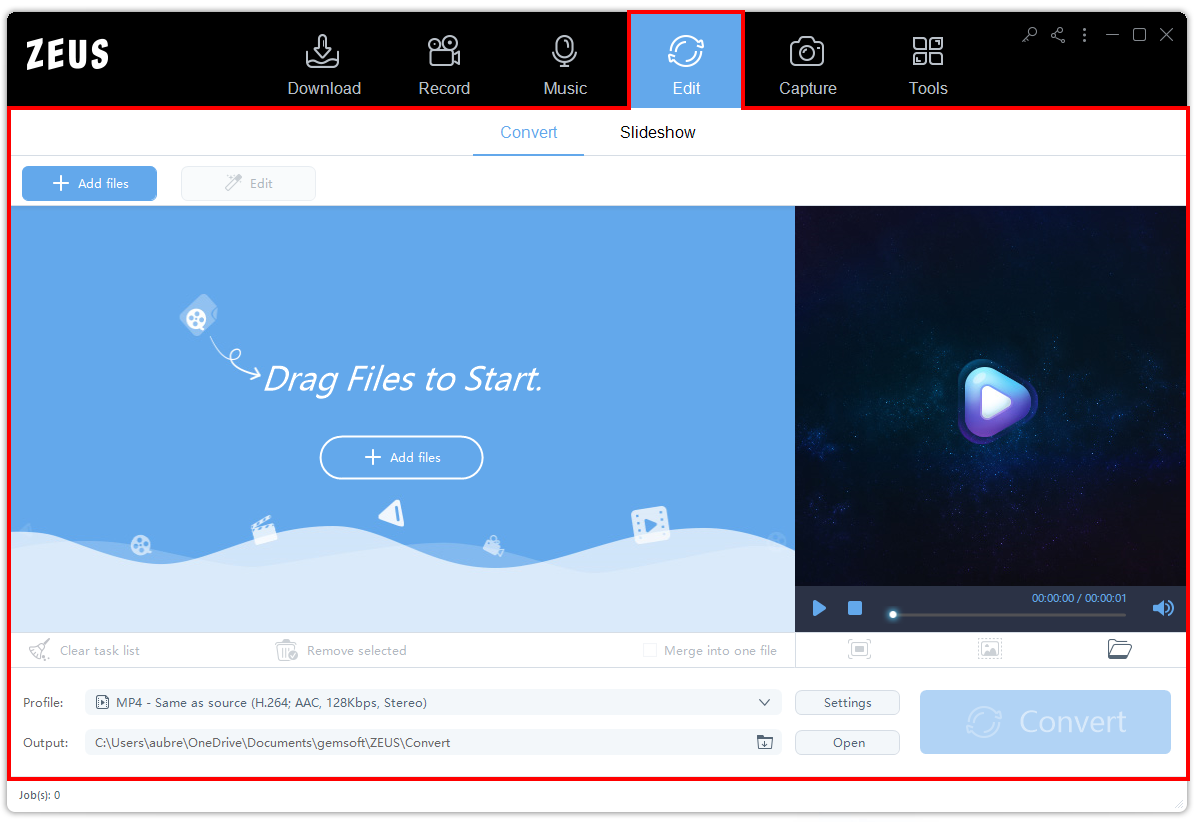
Edit Function Screen
Another great feature of the Edit function is the capability to create high-quality slideshow videos with background music. It is packed with built-in transitions ready to be used. To start with this, click the “Edit” menu to open the function screen.
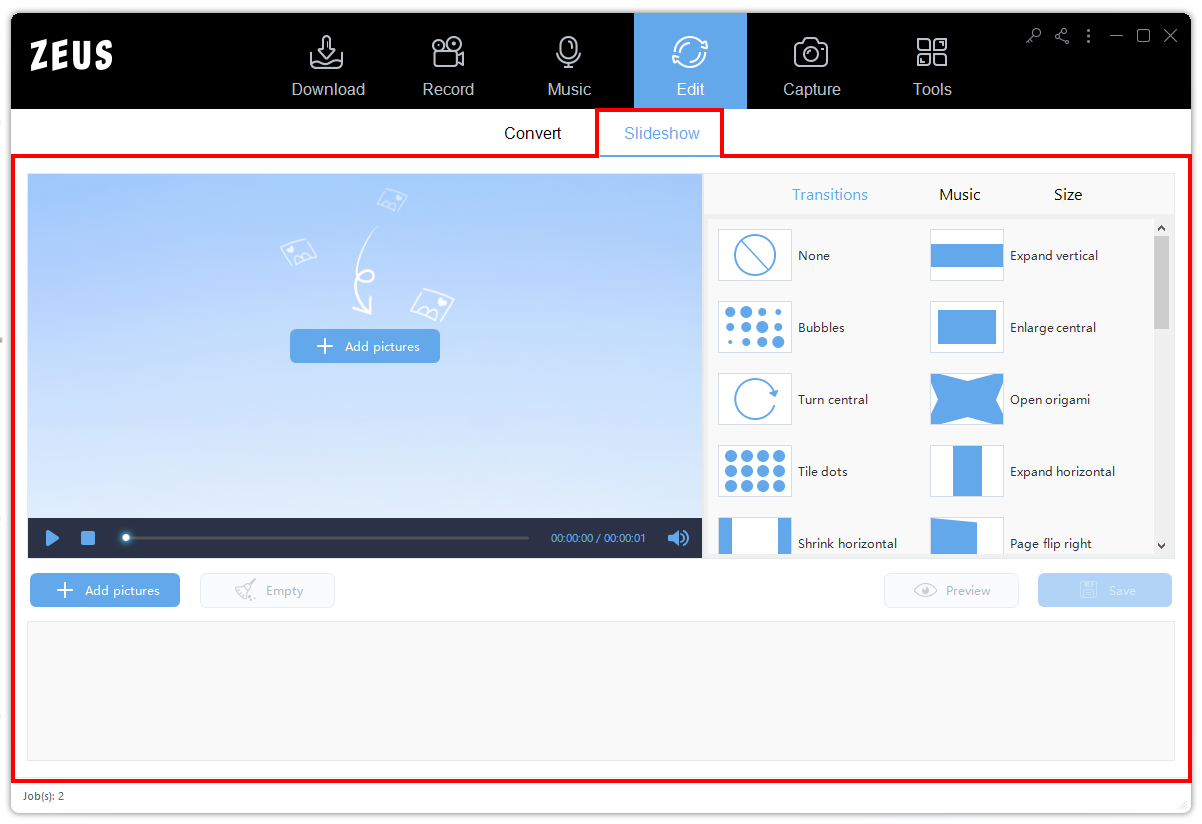
Slideshow Sub-Function Tab
Under the “Edit” function screen, Click the “SlideShow” function tab to see all slideshow maker features and tools.
Check here for other sub-function tabs:
Slideshow Features and Tools
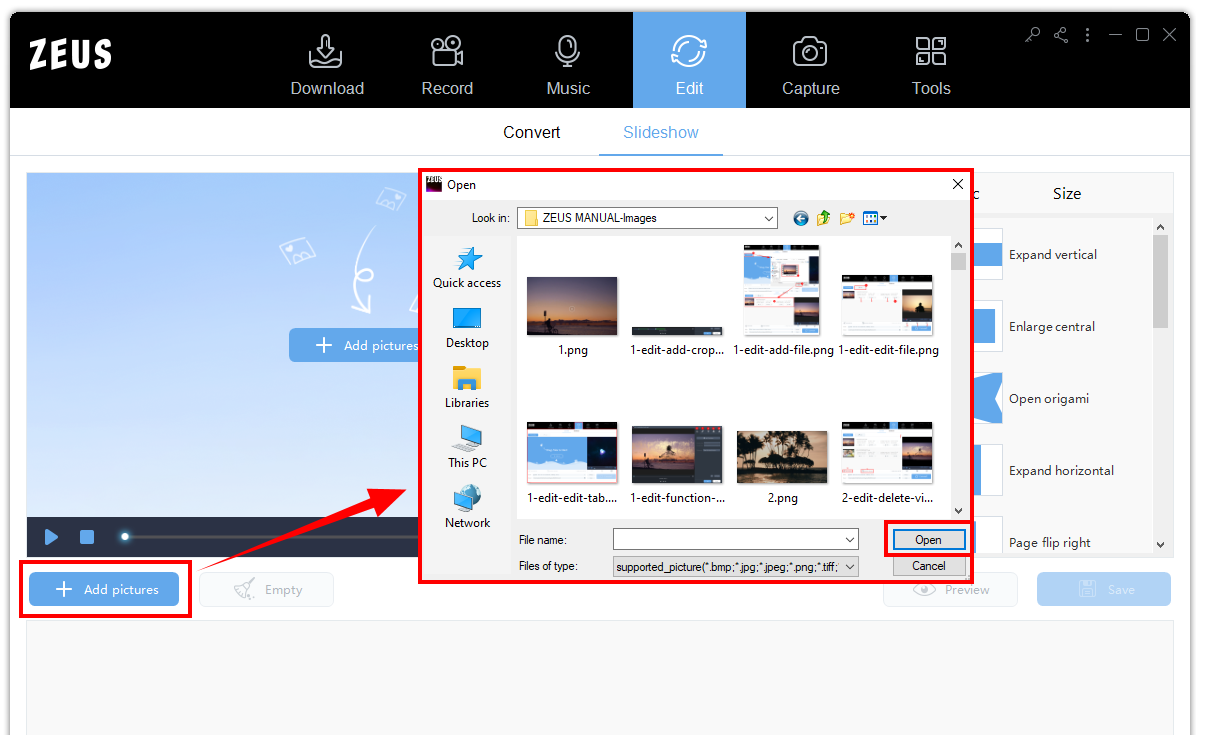
1. Add Photos
Click the “+ Add Pictures” button to open the file selection screen. Select a file and click the ”Open” button. The operation of this screen is the same as Windows Explorer. You can select multiple files by dragging the mouse or holding down the Ctrl key on your keyboard and clicking on a file.
2. Editing Added Photos
The added photos will be displayed at the bottom of the screen. Time series from left to right.
 To arrange, you can change it by dragging and dropping the file. To remove photos, place the mouse cursor on the photo and click the “X” icon in the upper right to delete. If you want to remove all the photos, use the “Empty” button. These operations do not change or delete the photo in your file.
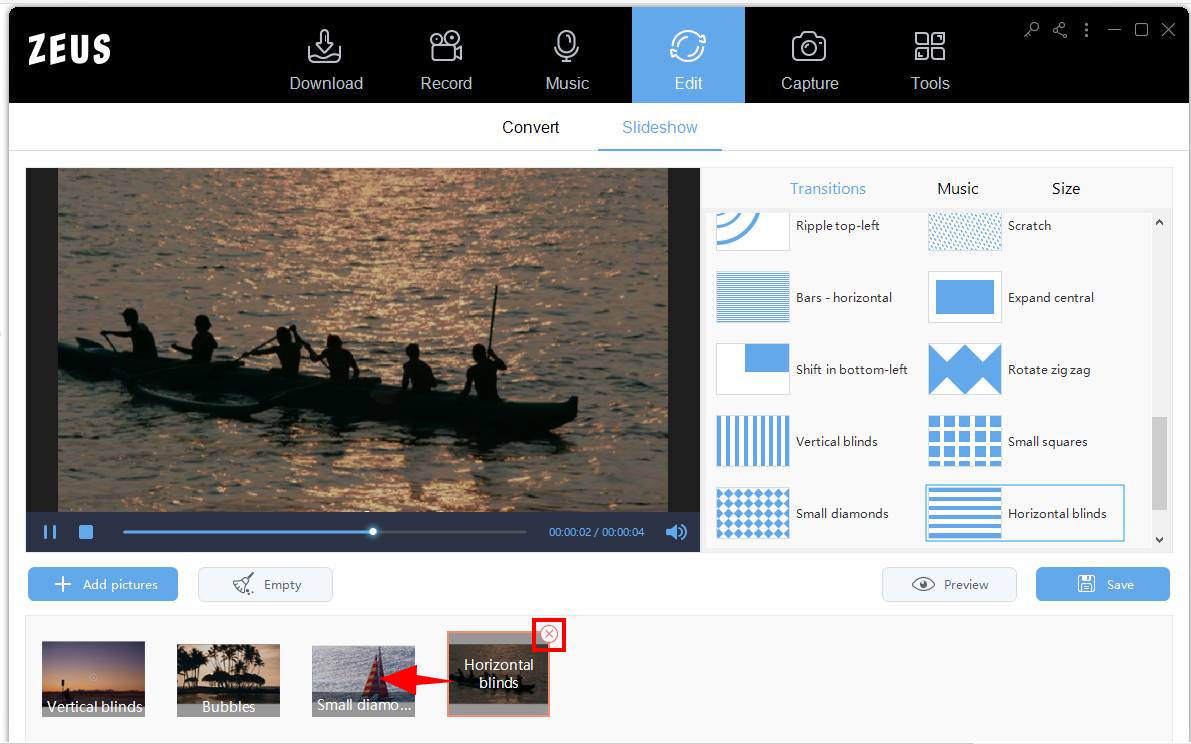
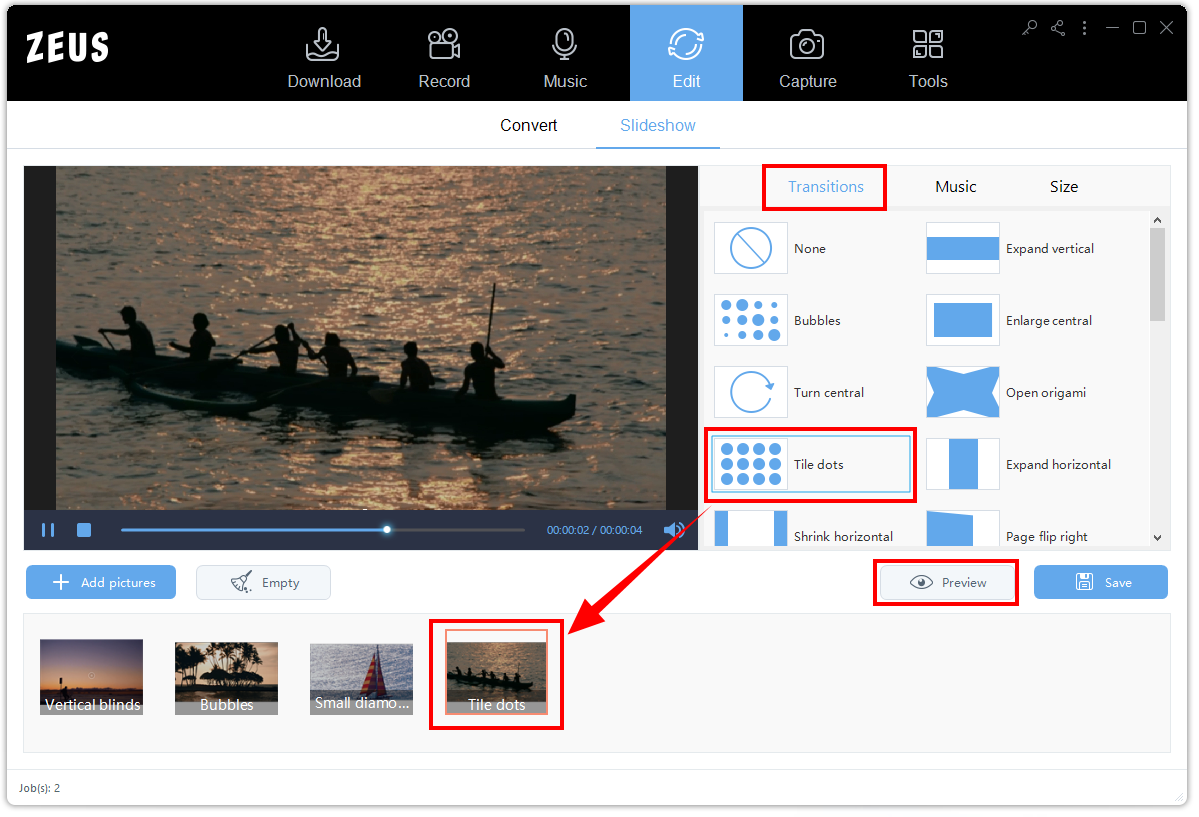
3. Screen Switch Effect (Transition) Setting
Open the “Transitions” tab to see all available transitions effects. Select a photo first then click the preferred transition to apply. You can check the effects on the Preview.
4. Add Background Music
Open the “Music” tab and select a music file from “+Add Music”. You can add multiple kinds of music and play them. You can remove the added music with the “trash can” on the far right.

5. Slideshow Settings
Click the “Size” tab, set the output resolution, and cycle interval.
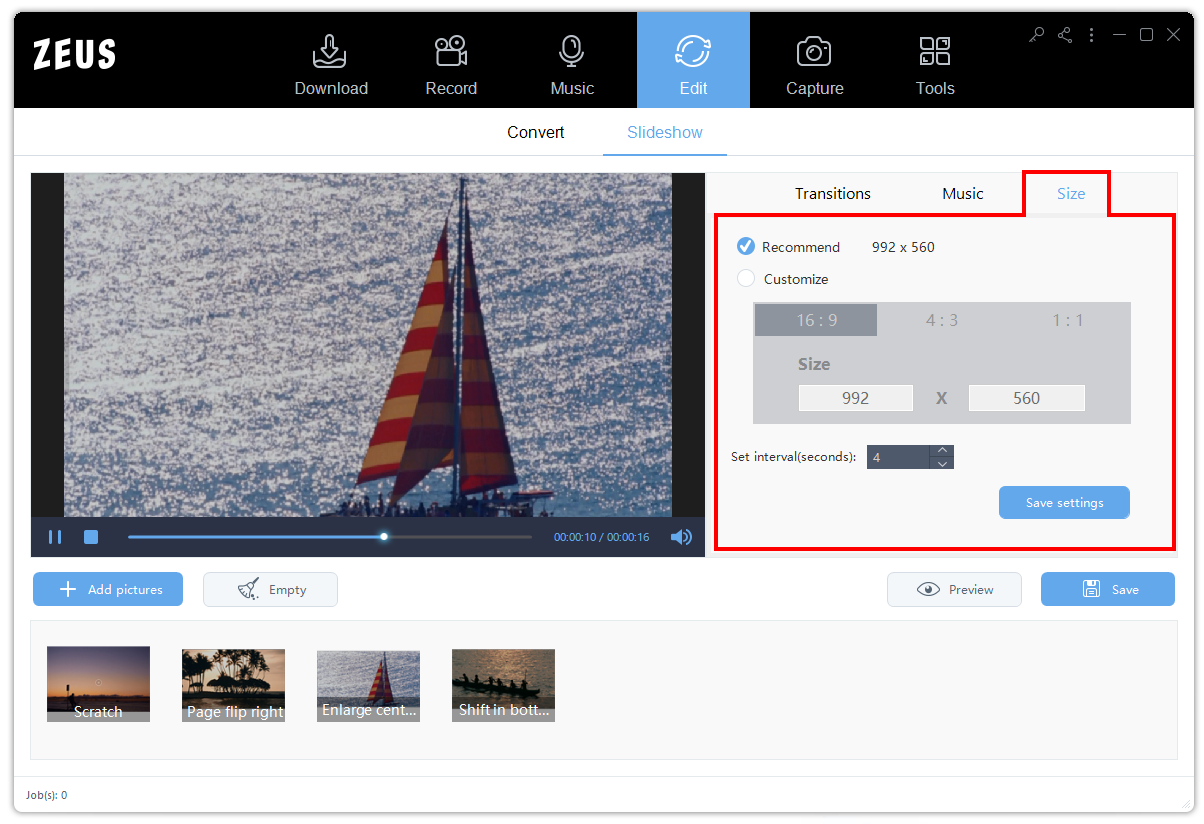
A. Resolution
You can set the resolution by selecting the “Recommended” resolution (992 x 56) or specify a customized ratio.
For customization:
5.1 Select the aspect ratio (aspect ratio)
5.2 Specify the size * If either aspect ratio is set, the opposite side will be calculated automatically based on the ratio.
B. Set Interval
The cycling interval is the playback time per photo. Once all is set, click the “Save” button to apply the changes.
6. Check and Save
When everything is done, you can preview the created slideshow and save it to your local files.

6.1. Preview
Check the edited contents in the preview area. The operation is the same as the play button under the preview area.
6.2. Save
Save the edited slideshow as a video file. Once you saved your edited video, click the “Open Folder” button to see the file’s destination.
Leave A Comment