The Best Screen Capture Software for Windows 11 in 2022
![]() Have you ever needed to screenshot something but for some reason it doesn’t look as high-quality in your document or presentation as you’d hoped? Sure! Using the print screen function on your computer and editing it in common built-in apps like a paint can be a quick fix but if you need clear and proper pictures then we highly recommend third-party tools like ZEUS CAPTURE.
Have you ever needed to screenshot something but for some reason it doesn’t look as high-quality in your document or presentation as you’d hoped? Sure! Using the print screen function on your computer and editing it in common built-in apps like a paint can be a quick fix but if you need clear and proper pictures then we highly recommend third-party tools like ZEUS CAPTURE.
ZEUS CAPTURE is the best screen capture software that will help you take a clear screenshot with a variety of customized designated area options available. You can choose from All in one, Fullscreen, Window, Menu, scroll window, etc. Through these customized designated areas, you can achieve advanced tools for screen capture like capturing menu only, transparent background, or the whole page as you scroll, etc. Not only that, ZEUS CAPTURE is equipped with a built-in image editor for quick image editing making it look like a pro! With this tool, you no longer have to worry about bad-quality images for your presentation. You can bet that this is the best screen capture software for Windows 11.
Download the free trial version below to start your image capture!
Part 1: How to Capture Image with ZEUS CAPTURE
Step 1: Prepare the Content to Capture
On your computer, open the content that you want to capture.

Step 2: Choose your preferred customized designated area
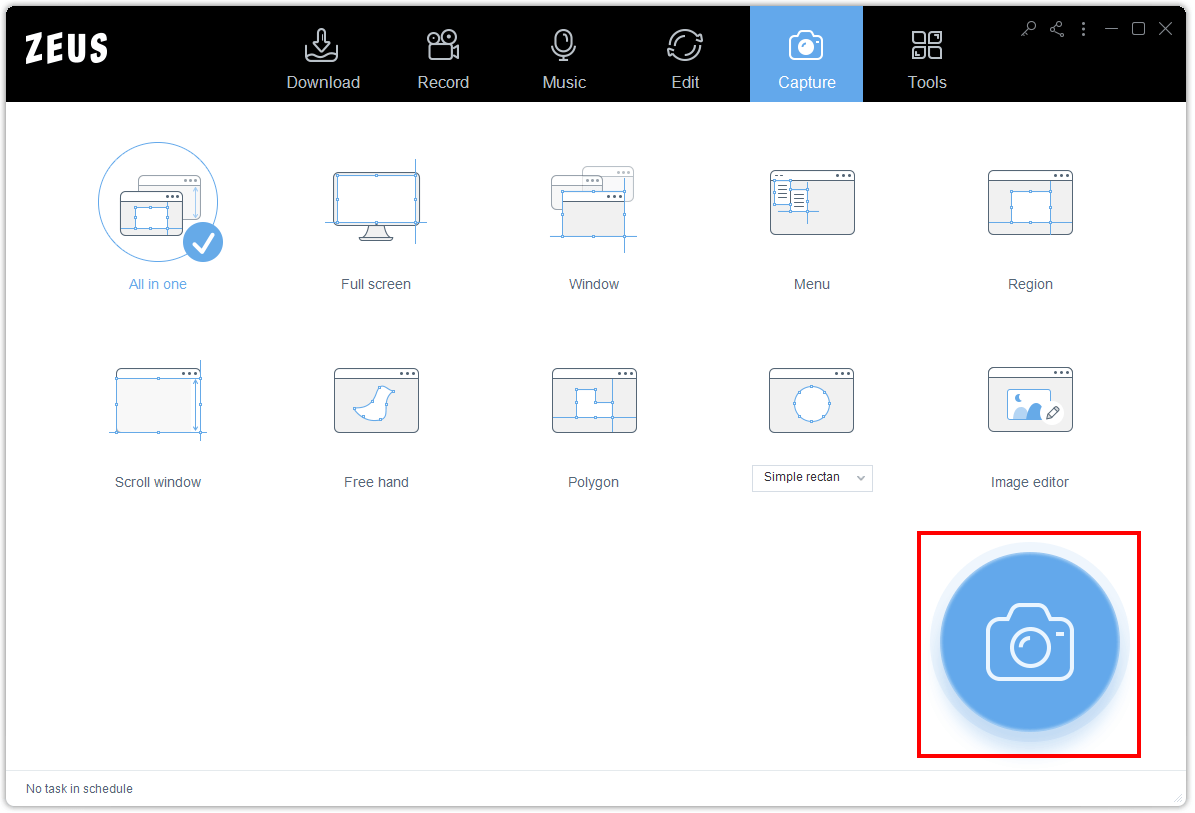
Run the ZEUS software, go to “Capture” function screen, and select your preferred customized designated area such as All-in-one, Fullscreen, Window, Menu, Region, etc.
In this example, we will use “All-in-one” designated area.

Step 3: Capture your content
Click the “Camera” icon to capture your content.
Then select an area to capture by clicking and dragging your mouse.

Step 4: Annotate captured image
ZEUS CAPTURE is equipped with annotation function. This tool will be displayed right after you captured your content. You may annotate the captured image by adding texts, shapes, arrows, etc.

Part 2: Edit the Captured Image with Built-in Image Editor
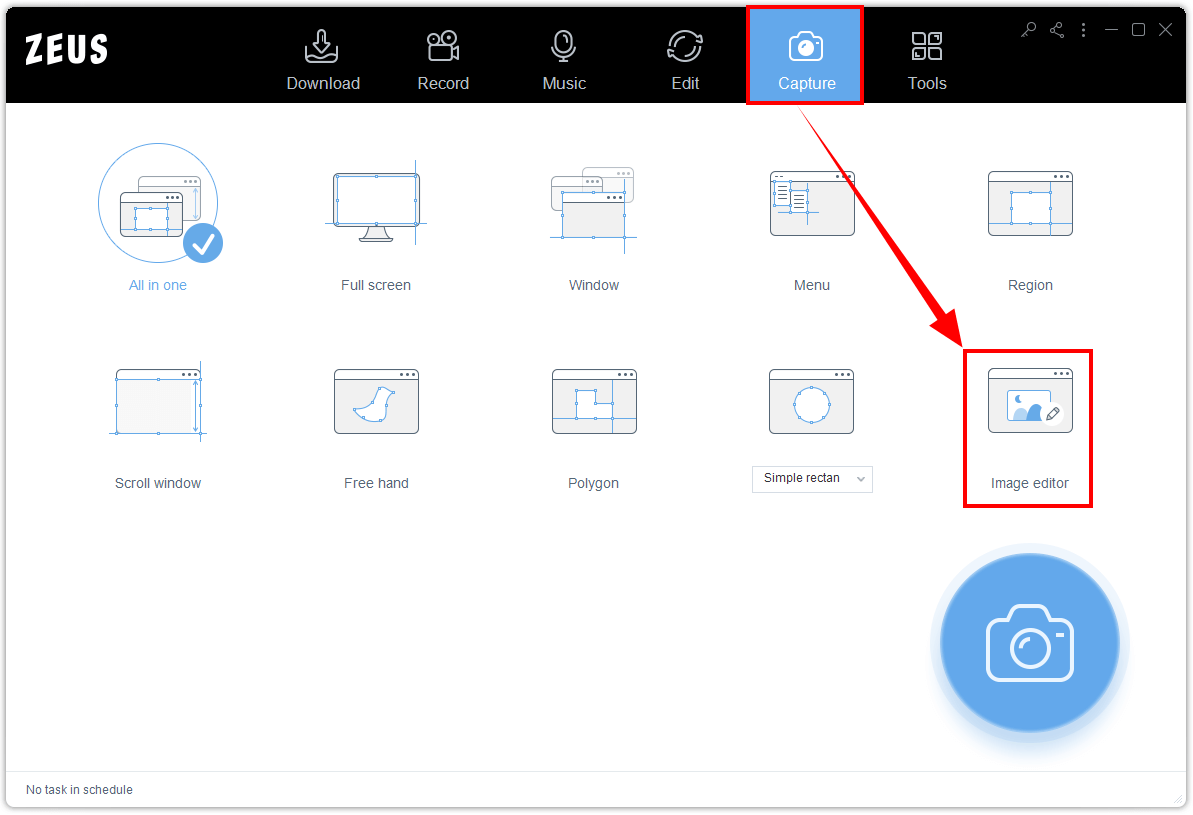
Step 1: Open Image Editor tool
Open the ZEUS software and click the “Image Editor” under the “Capture” function screen
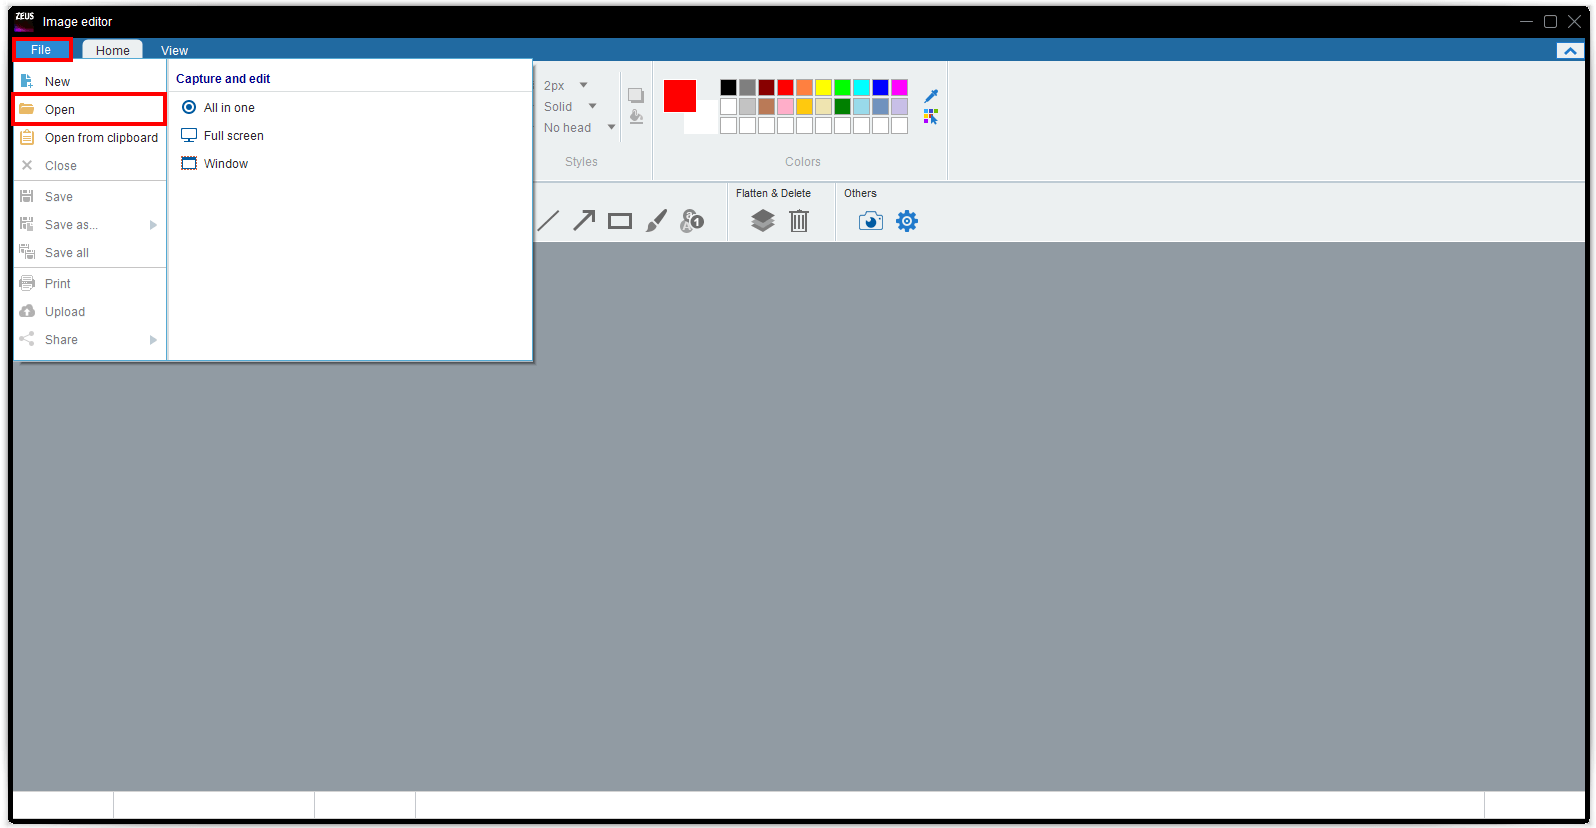
Step 2: Open Captured Image to Edit
When the Image editor is opened, select a captured image to edit by clicking “File” from the top menu and select “Open” from the options.
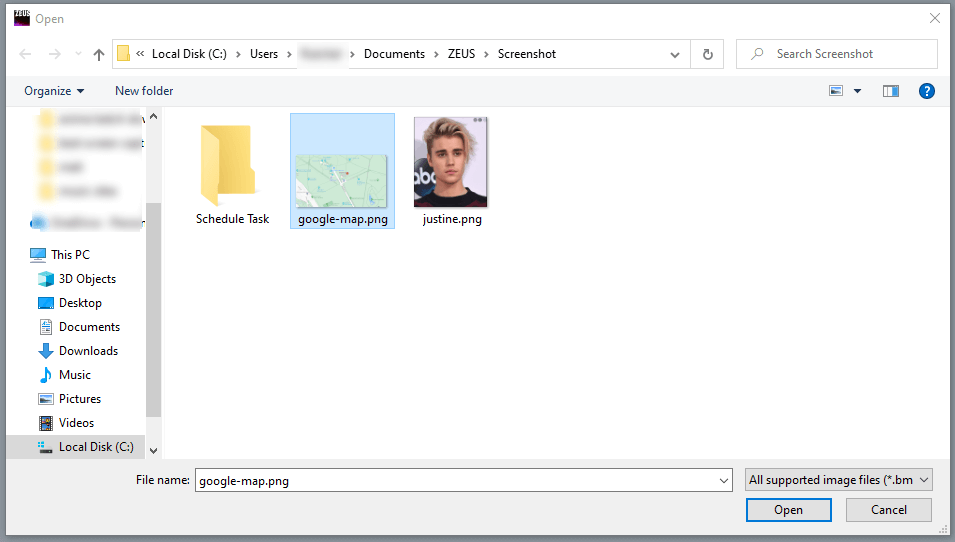
The local folder of your captured images will pop-up. Select to import your captured image.
Step 3: Edit the Captured Image
The selected file will be imported to the ZEUS Image Editor. You can start your editing by adding texts, shapes, draw, blur, etc. as you prefer.
You can also refer to ZEUS CAPTURE manual for more details about Image Editor functions.
Manual 15 – Capture: Screen Capture

Conclusion
Screen Capture using this software have never been this easy. You can finally have amazing images for your videos, presentations, blogs and more with ZEUS CAPTURE.
ZEUS CAPTURE is the best screen capture software that you could ever get. It provides flexible options to attain professional screen captured images for various purposes. It even has built-in image editor for easy and fast editing of your captured images. No need to jump over differen tools because ZEUS CAPTURE has everything you need!