How to Create Presentation Video Materials with ZEUS RECORD
With ZEUS RECORD, you can create presentation video materials.
For example, while recording presentation materials such as PowerPoint or PDF, you may add the following:
・ Emphasize important content by adding shapes, arrows, etc.
・ Explain the parts that are difficult to understand by adding dubs.
・ Add texts that are not on the slide.
Through this, you can make the presentation video easier to understand. Also, if you have a WEB camera, you can include the instructor’s face cam who discussed at the same time to create a video that conveys more.
This page will guide you through the steps to create video materials and presentation videos using ZEUS RECORD.
You can try ZEUS by clicking the button below.
Prepare the following before recording with ZEUS RECORD:
- Presentation materials such as PowerPoint and PDF
- Presentation files
- Microphones
- WEB cameras (Not required if you do not want to show the instructors video)
Step 1: Select the sound source
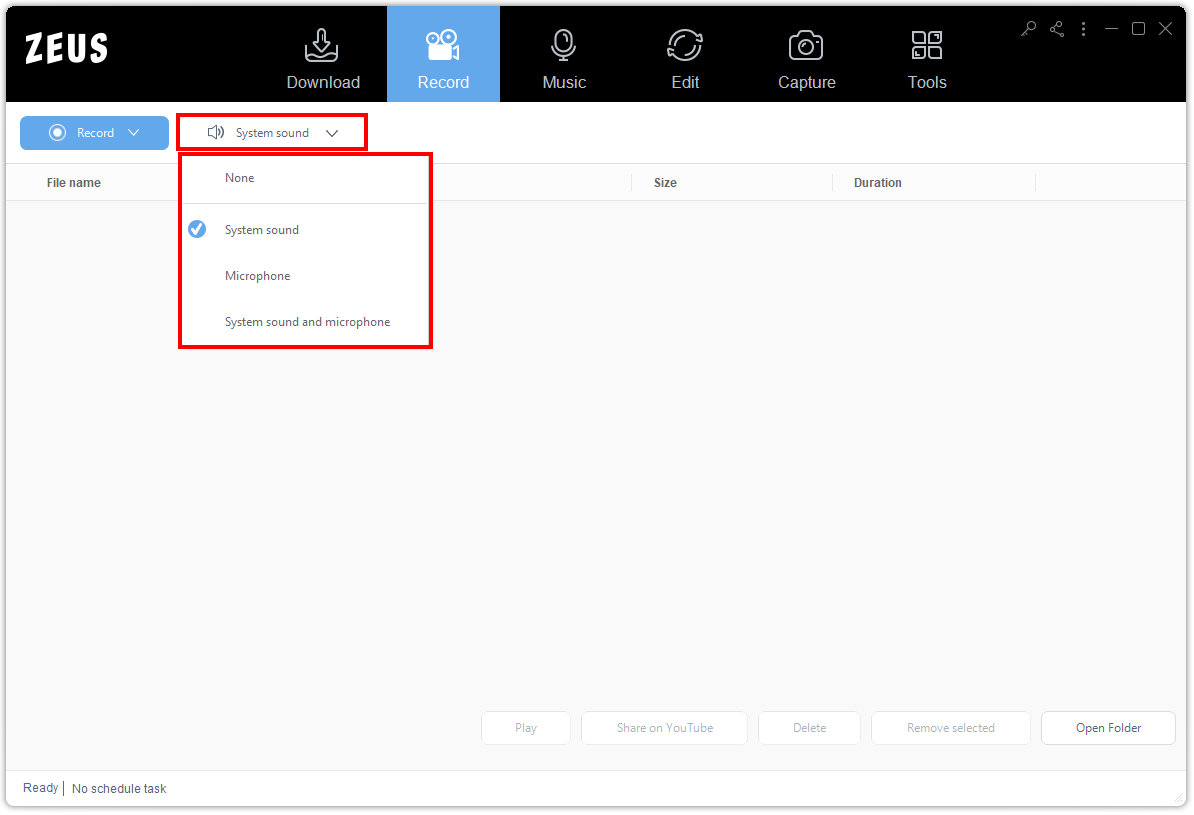
Launch ZEUS and click the “Record” function menu.
On the Record function screen, the sound source is set to “System Sound” by default. Click it to choose other options such as None, Microphone, or System Sound and Microphone.
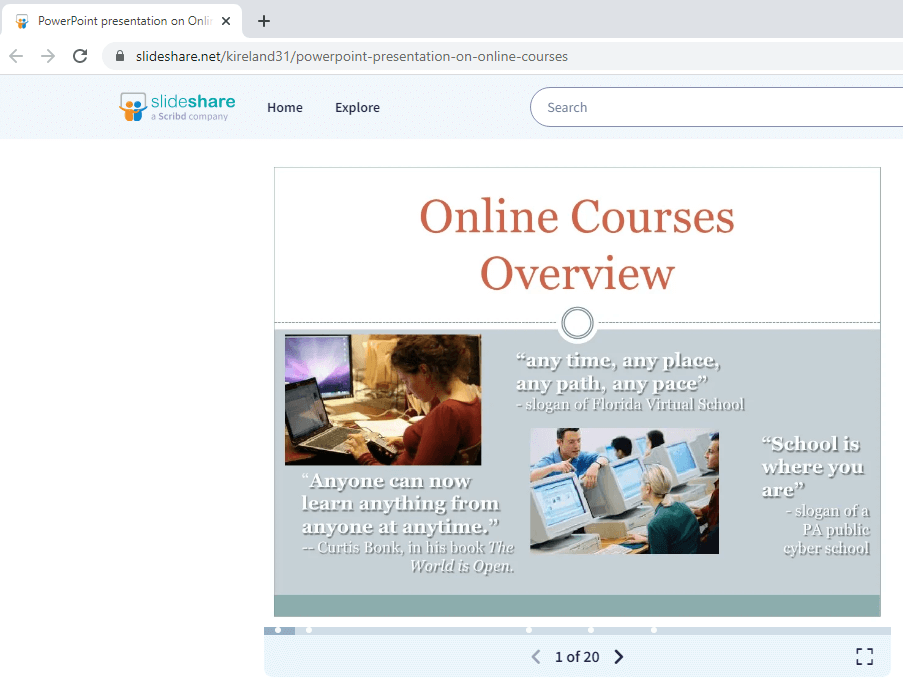
Step 2: Open the presentation file
Open the learning materials and presentation files such as PowerPoint, PDF, e-learning presentations, etc.
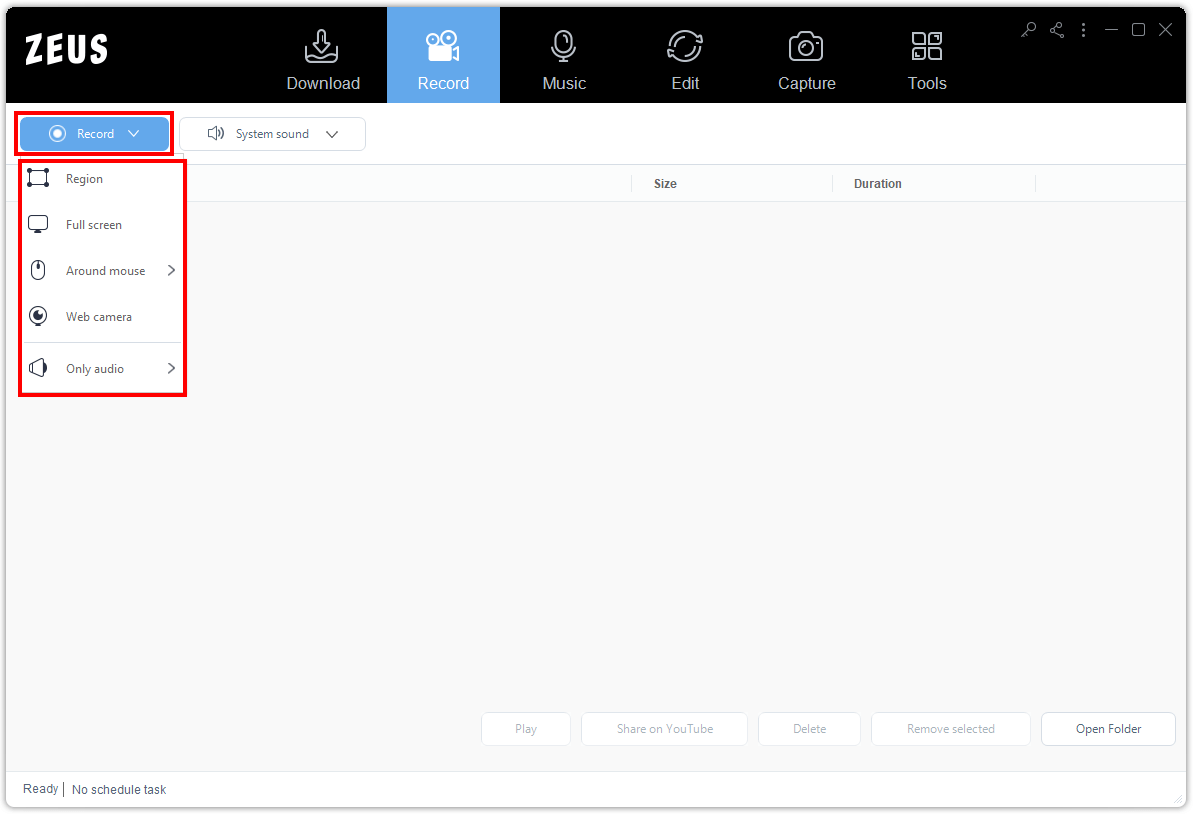
Step 3: Choose a recording mode
Go back to ZEUS, click the “Record” button and choose your preferred recording mode. You can choose from Region, Fullscreen, Around mouse, Web camera, and Only audio. For presentations, it is recommended to set the recording mode to “Fullscreen”.
Step 4: Begin the recording
After the countdown, a recording toolbar will pop up which indicates that the recording has started. You can show/hide the recording toolbar by pressing the shortcut keys (CTRL+ALT+E).
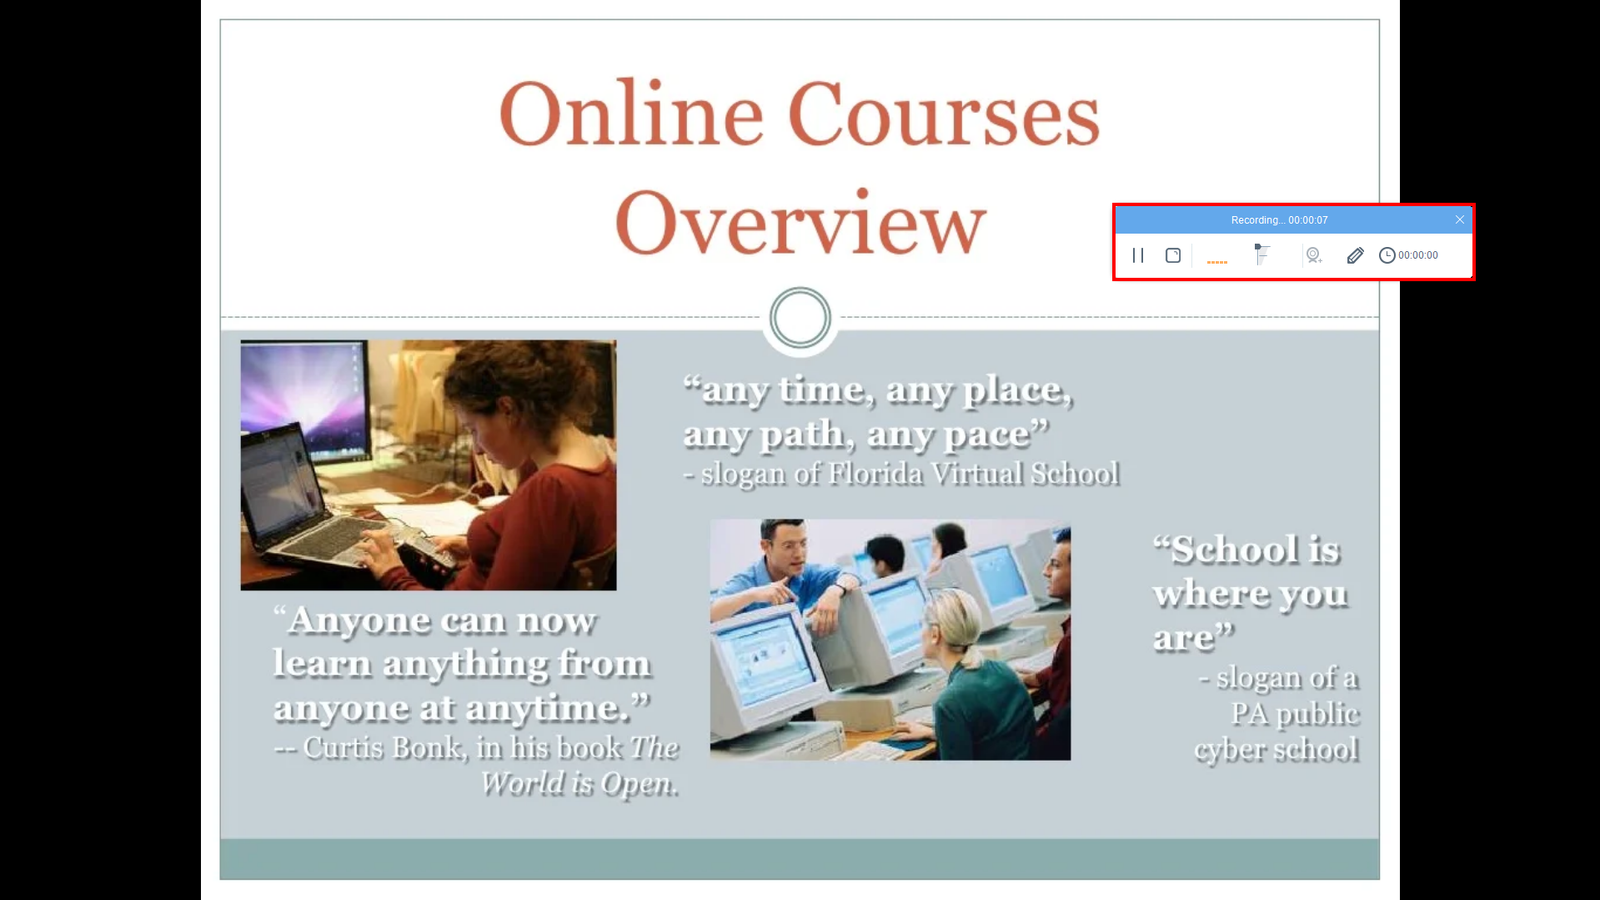
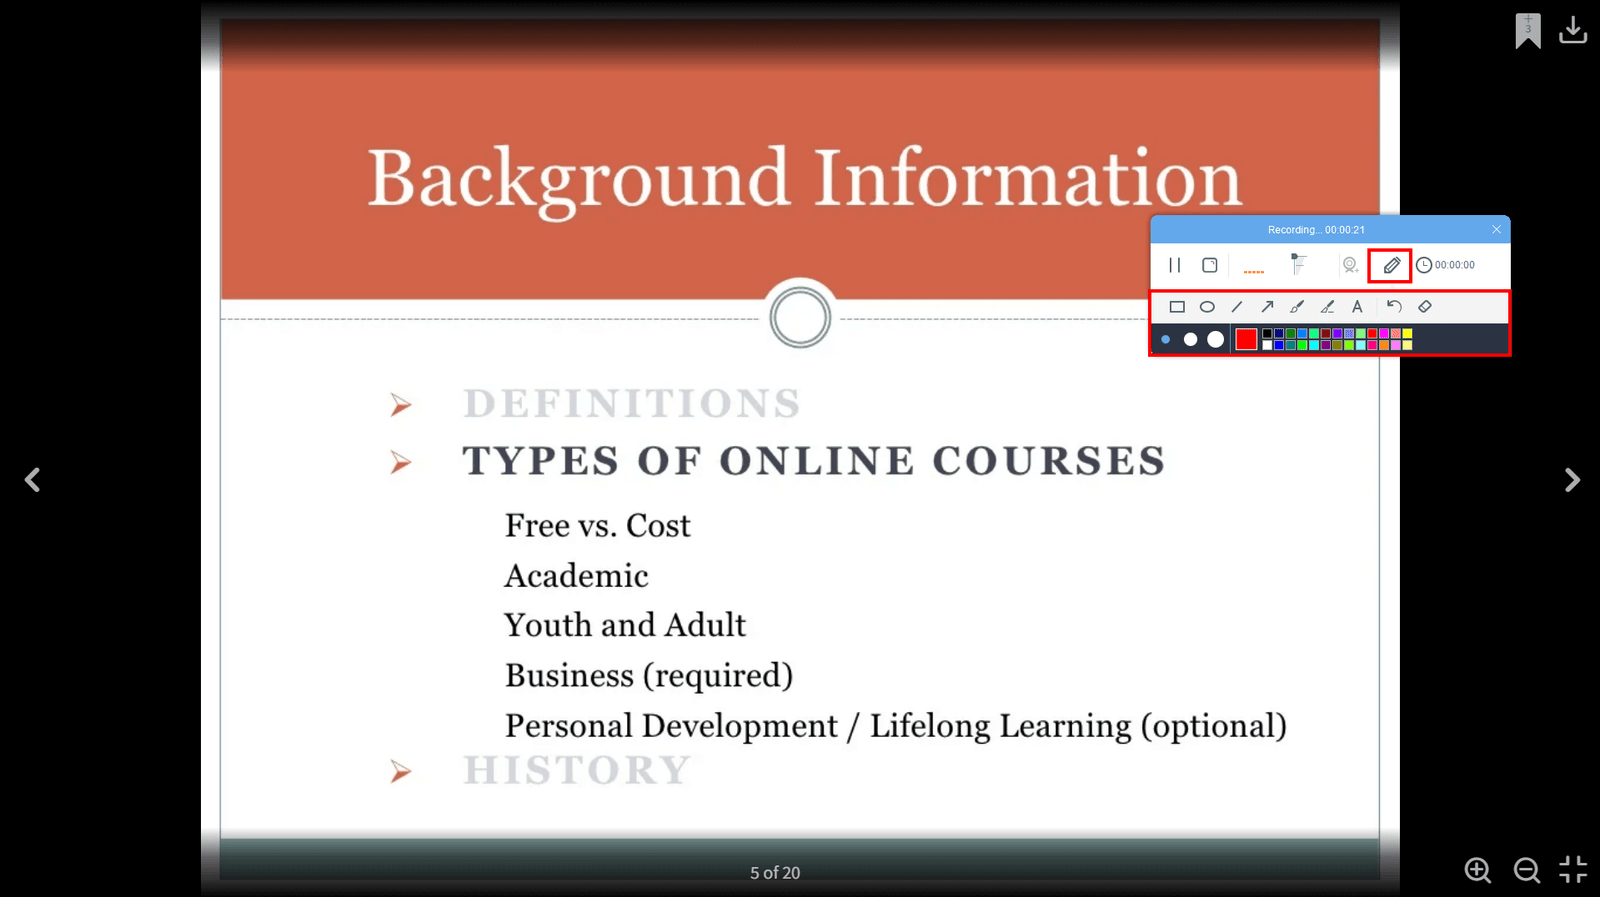
Step 5: Annotate while recording
Click the “Pencil” icon on the recording toolbar to enable the real-time annotation function. Through this, you can add texts, shapes, arrows, etc. to emphasize and customize your video presentation.
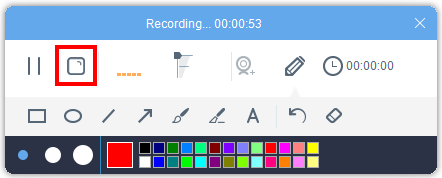
To include your face cam, click the web cam icon on the toolbar.

Step 6: Finished recording
When the presentation is finished, click “Stop” to end the recording.
All recorded files are added to your Recording list. Right-click the recorded files to manage and see more options such as Play, Convert, Share on YouTube, etc.
